Packaging
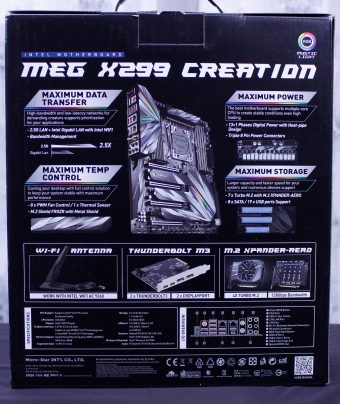
The packaging for the X299 creation carries what I call the explosion effect and something that has a good modern-ish look but overall has more of a game-ish feel rather than a content creator inspired graphics, but I mean that’s not really a bad thing. I don’t think we would want Apple styled package in something like this.
Accessories
The accessories for the MSI MPG Z390 Gaming EDGE AC are simple enough and enough to get the board up and running.
- Manuals
- Driver CD (Just download newest from the website)
- Cable labels
- Quick start guide
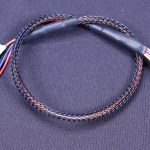
- Thermal probes
- Thunderbolt internal cable
- Other misc documentation
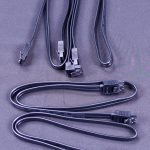
- 6x SATA Cables
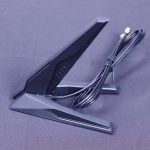
- 1x WiFi Antennae
- RGB LED Extension Cable
- HB SLI Bridge
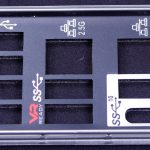
- IO Shield
One thing to note is that the IO Shield is not integrated as I’m sure you noticed as it’s an accessory. While this si something I prefer to see integrated, MSI simply is back and forth on this trend. It’s not a make or break deal but something nice I would like to see on a 600 dollar board.
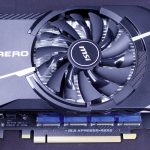
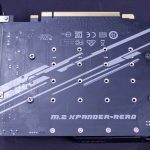
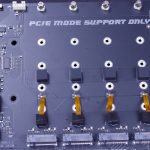
M.2 Xpander
This is probably the most interesting add-in I have found in a motherboard accessory pack to date. This is the previously mentioned M.2 Xpander which is an AID that effectively turns a PCIe x16 slot into a four PCIe x4 M.2 slots. I do like that it has integrated temperature sensors and even status lights on the rear of the card. Also, note that 22110 sizes is supported for anyone looking to go ultimate RAId with new M.2 form factor OPTANE 905P drives.
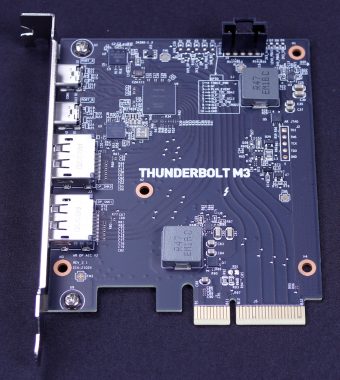
Thunderbolt 3 Card
Here we have the included Thunderbolt card which means if you need Thunderbolt you can use it and if you do not it is not cluttering your I/O. It has dual Displayport inputs and dual out do you can run up to two displays from this card.
The Board

The MSI MEG X299 Creation is a beast to withhold. It is larger than ATX at the E-ATX or as I call enthusiasts ATX. It has similar styling to the explosion style graphic we saw on the box. I do like that the character of the board feels cohesive with the styling and it looks very good overall. The three top mounted 8 Pin EPS connectors are a bit shocking when you first see them but that’s simply because we’re not used to seeing so many especially as common knowledge that PSUs normally offer a max of 2x EPS 8 pin.
The components and slot spacing are solid for both a gaming rig or a workstation as you could easily run 4x Quadro or productivity cards in here if you so desired.
A Closer Look

The Previously mentioned slot spacing as you can see here is 4x slots at dual slot spacing. This means four dual-width cards could be fit here. As we know 4 way SLI is dead so processing cards or even crossfire can fit but anything over 2x Pascal or Turing based GPUs simply would not make any sense. It is worth noting there is a single 1x slot below the third slot should you need it.

The lower edge of the board’s connectivity is as follows. (Left to right)
- Front Panel Audio Header
- 5050 style Header
- 4 Pin Molex (PATA) connector for multi GPU slot power
- 4x Sys fan headers
- 1x Water flow sensor header
- Thermal Probe Header
- TPM Header
- Front panel case connector
- 2x USB 2.0 pin headers
- USB 3.0 pin header

The rear panel I/O has everything you could need for a full gaming rig with some to spare. (Left To Right)
- CMOS Clear Button
- USB BIOS Flash button
- PS/2 Keyboard/mouse combo port
- 2x USB 2.0 ports
- Dual WiFi/BT Antennae ports
- 6x USB 3.1 Gen 1 Type A ports
- 1x USB 3.1 Gen 2 Type A ports
- 1x USB 3.1 Gen 2 Type C port
- 1x 1Gb RJ45 port powered by Intel 1Gb
- 1x 2.5Gb RJ45 port powered by Realtek
- 7.1 Channel audio ports w/ S/PDIF Optical port powered Realtek ALC1220

The storage side of things we find 8x SATA ports. To the right, you can see the flat mounted USB 3.1 Gen 1 20 pin header along with a USB 3.1 Gen 2 onboard header. Moving to the left we see a U.2 PCIe connector for NVMe storage devices.
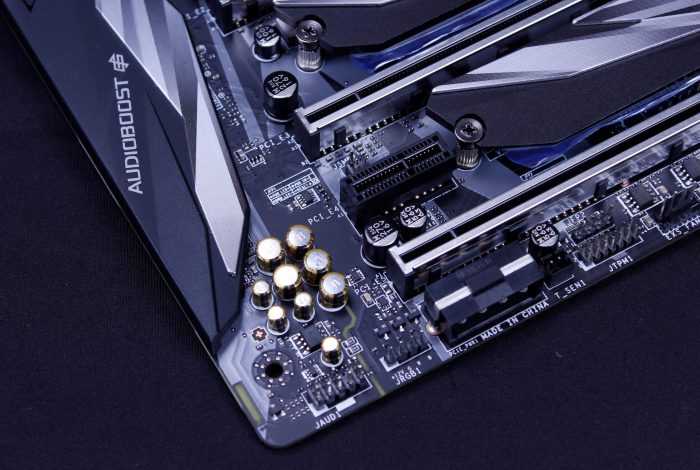
The audio section is shrouded by the metal/plastic covers. The visible bits are the Nichicon gold caps commonly used for audio which means that this should deliver competent audio or at the very least it will be on par with what you would get from other boards on the market as well.
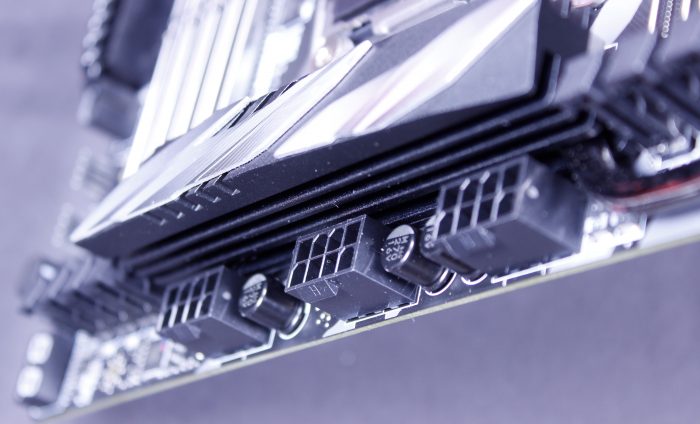
Here we have the triple 8 pin EPS connections. This is something I will say again, is a very surprising addition, as I never really thought about PSU’s being able to have triple 8 pins. Now, this is not necessarily a NEED as much as it is more of a desirable thing to have on a system that may be equipped with a 9980XE and pulling render loads all day. This as MSI showed by all electrical principles should work as advertised and when testing on the bench we did have a defined difference in plug temps just by feel when testing under extreme loads.

Here we see the topmost section of the board or what I have dubbed”Overclockers corner” for boards that are deserving of this title. In this case, the X299 Creation is deserving enough even though it’s not necessarily targeted at overclockers it has many things going for it. Things such as VRM quality and component layout in many cases can make up for lack of OC goodies. The first thing to note is the Game Boost knob which is supposed to be an automatic overclock. I can say with the utmost certainty I would avoid cranking on this knob unless you know very well you have adequate cooling as many of the profiles in this auto overclock can be quite aggressive and even border on unrealistic.
For example, with our 7900X CPU turning the game boost up to 11 results in a nominal clock of 5.0GHz which of course is not all cores but still a hard push for most and if you do not know better can result in thermal throttling or even thermal shutdown.
Enough with the basic board, let’s break it down a bit and see what makes the X299 Creation tick.
 Bjorn3D.com Bjorn3d.com – Satisfying Your Daily Tech Cravings Since 1996


