Closer Look and Installation
As this is a ROG-product the box is of course colourful and made to attract to gamers.
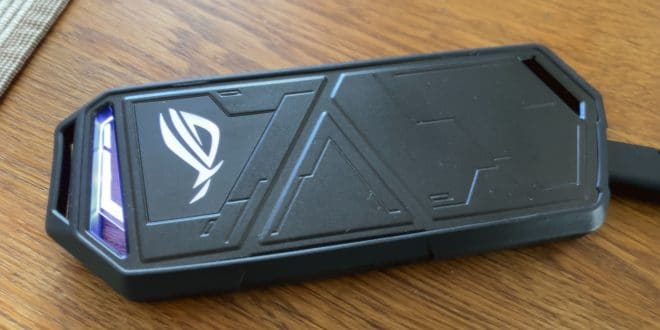
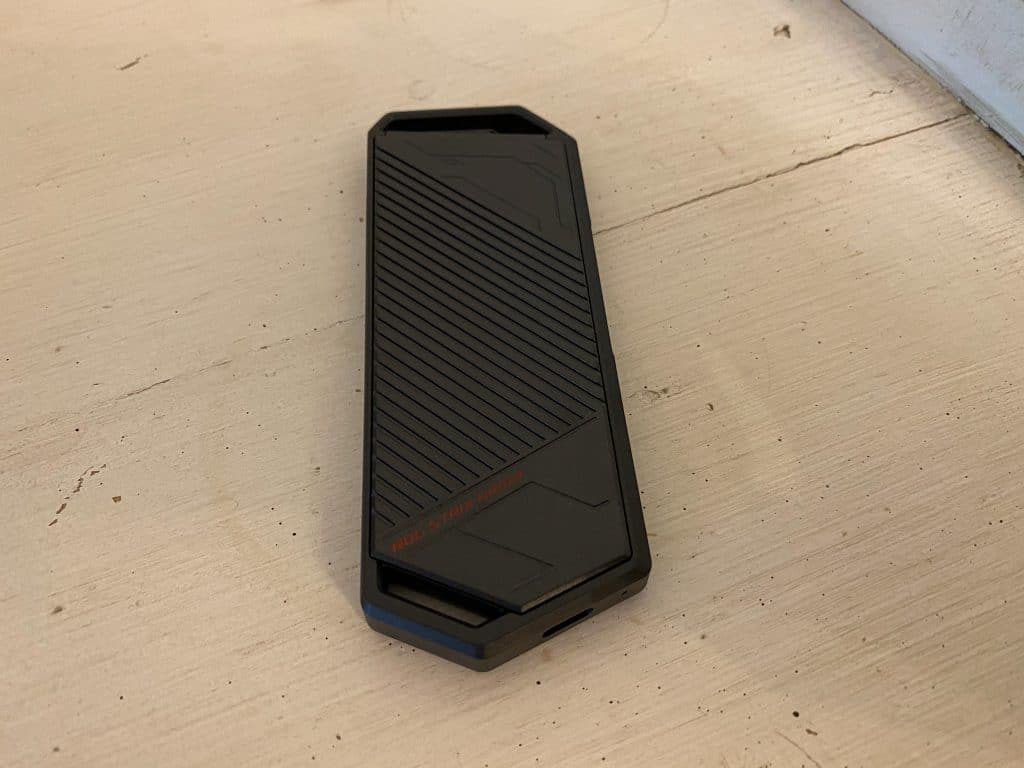
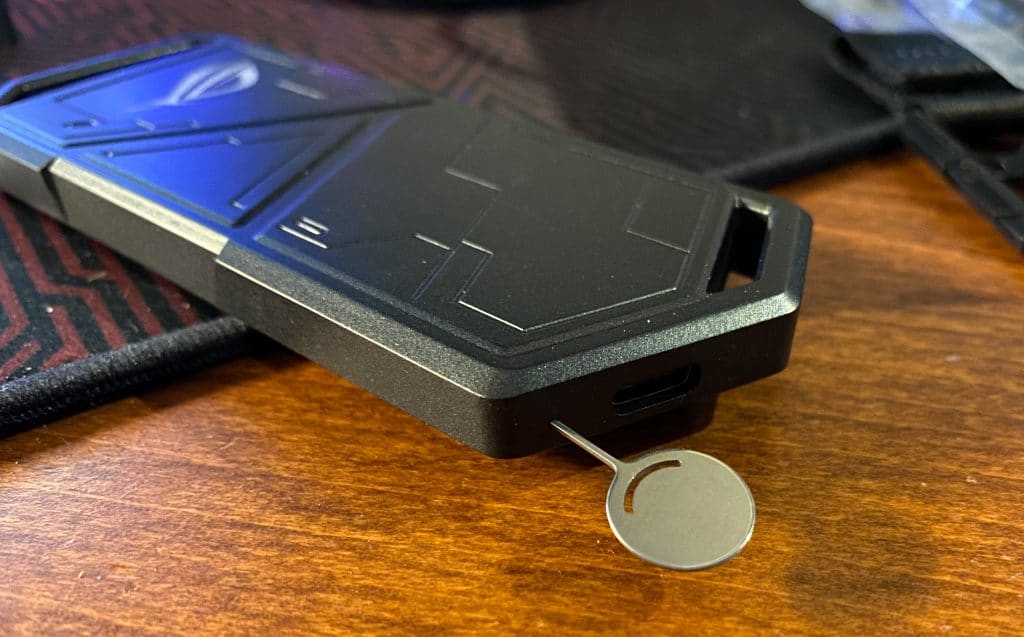
The ROG Strix Arion is pretty big as it has to fit a M.2 SSD and also have some space for cooling inside. The design is typical ROG with angles and the ROG-logo that lights up in use.
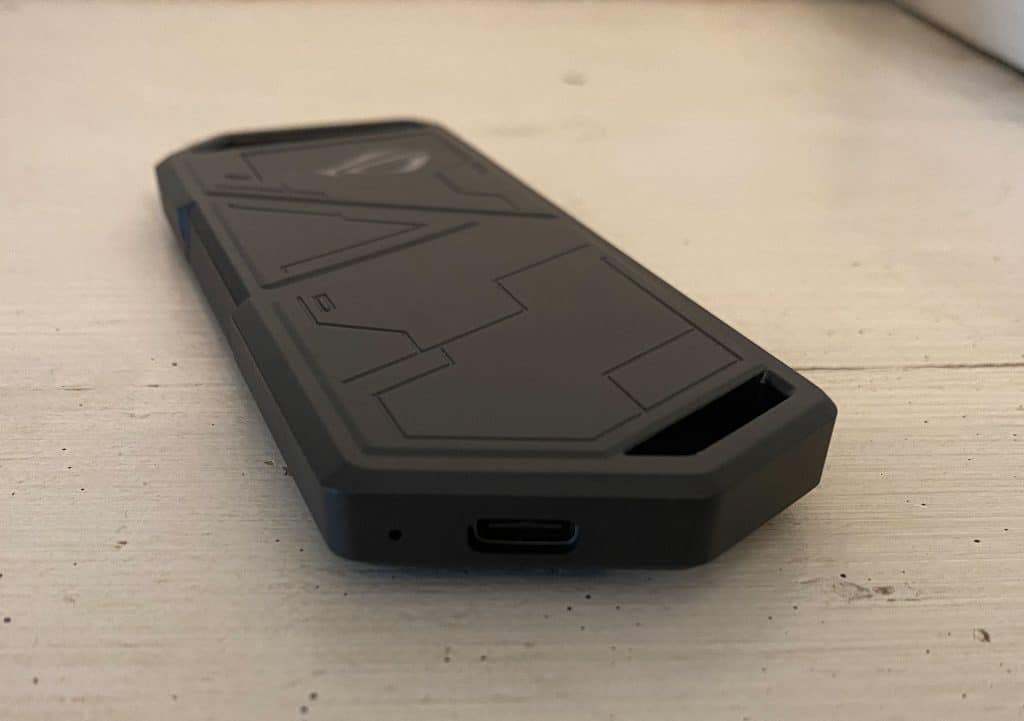
On one of the edges you see a USB-C-connector and a tiny hole that is used to open the enclosure up.
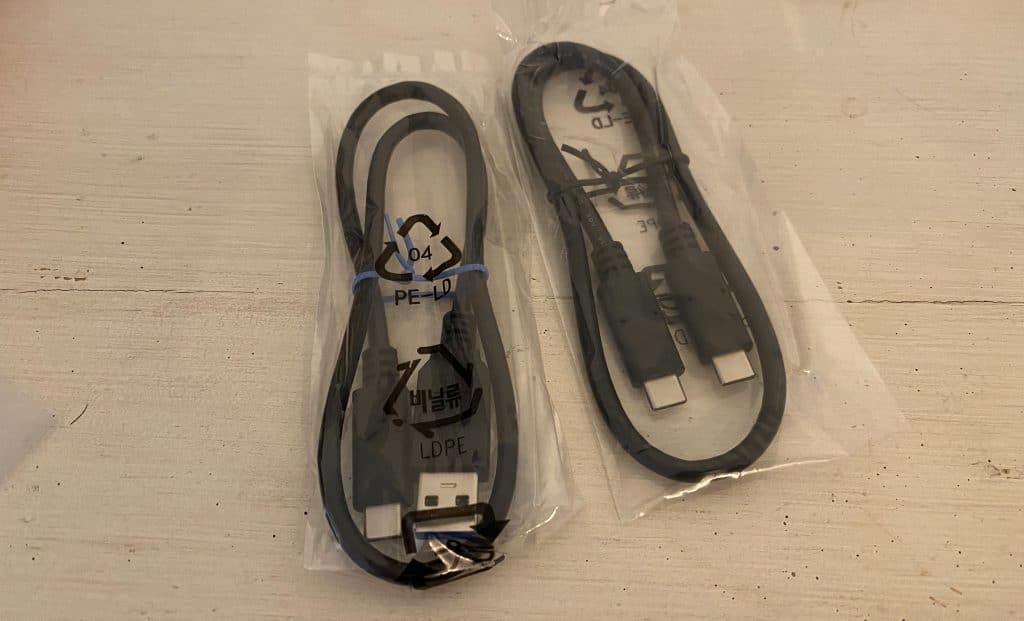
Asus includes two cables, one USB-C to USB-C and one USB-C to USB-A.
In addition a silicon rubber “frame” is included which can be used around the ROG Strix Arion as well as a R-Hook that can be used to hang the enclosure from a bag or similar.
Installation
ASUS includes a nice little manual that shows how to install the SSD.
You will need the little pin that is included to open up the enclosure. I guess if you loose it you can use a thin needle also or a similar pin that is used on mobile phones to get access to the SIM-card.
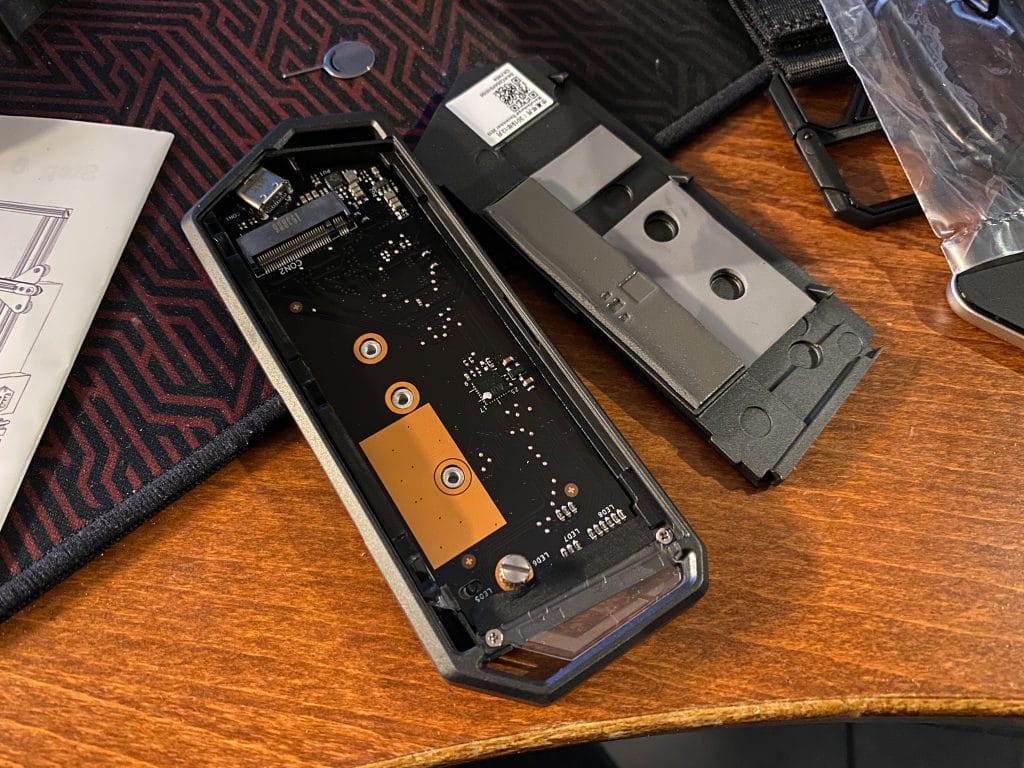
The enclosure supports several types of M.2 NVMe-drives: 2280, 2260, 2242, 2230. A screw is included to fasten the drive.
On the top you can see thermal pads that are there to move heat from the drive to the outside of the enclosure. The outside is made of Aluminum alloy to insure that you get maximum heat dissipation.
I choose to install a 200 GB Western Digital WD Black drive. This drive has a top speed of 3,000/1,600MB/s (Read/Write).
 Bjorn3D.com Bjorn3d.com – Satisfying Your Daily Tech Cravings Since 1996





Damn