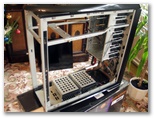
There aren’t many refresh / kicker products around that receive such high scores as this Thermaltake case. It’s worth checking it out!
ENHANCED AND UPDATED ARMOR
The heading sounds more like military news bulletin doesn’t it? Although it’s not, it means the same just different context. When it comes to upgrading your PC case, there are lots and lots of options. Hundreds of companies fighting for your money trying to outrun each other with fancy designs, abnormal and extreme solutions. Thermaltake is a company where anything is possible with the right personnel. Whether it’s a new case or simple upgrade, Thermaltake comes to a rescue with dozens of enclosures to pick from.
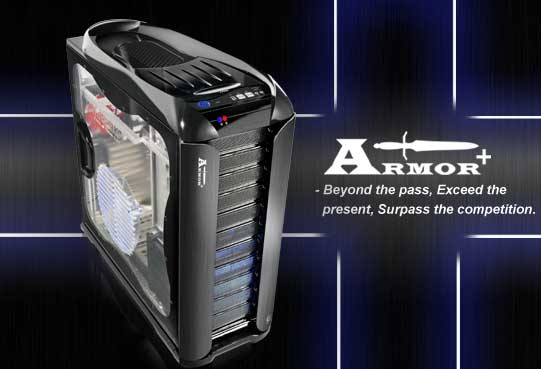
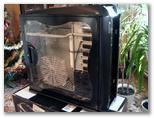
The model I had received is tagged VH6000BWS — Thermaltake Armor+ which isn’t a simple upgrade, it’s revolutionary to say the least. It’s painted black with window and overall steel structure. All models come with a transparent windows, though the other two are pre-installed with liquid cooling system. All together there are four different variations of Armor+
MAIN FEATURES
The updated Armor makes a lot of noise among other cases and trots out with the following features:
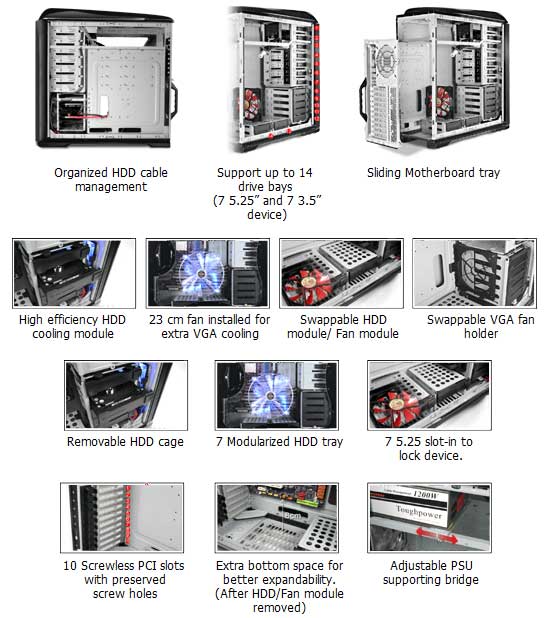
- Optimized design for both liquid cooling and air cooling system
- Sliding hood with toolbox on top. (Upgradable to LCS.)
- 10 PCI slots design for quad-graphic card configuration
- Tool free design for 5.25” device and PCI slot
- Sliding motherboard tray
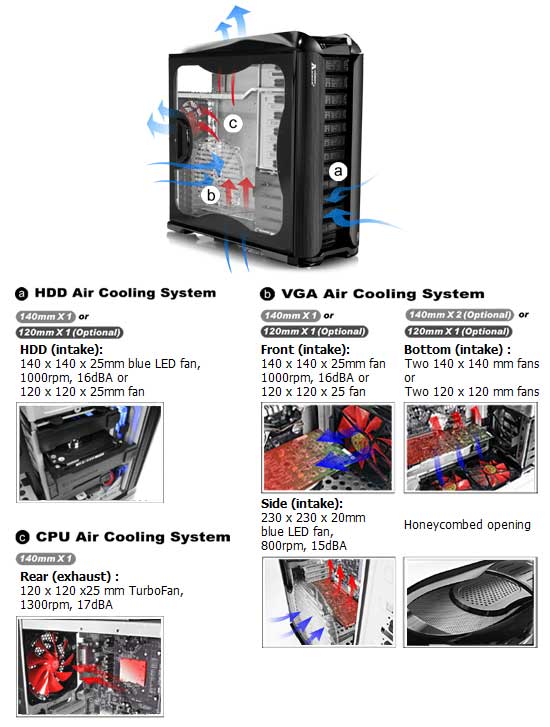
- Independent thermal management for CPU, VGA & HDD
- Cable management system for better cable routing and internal air flow
- Evolutionary adjustable PSU supporting bridge
- Micro ATX, ATX, Extend-ATX supported
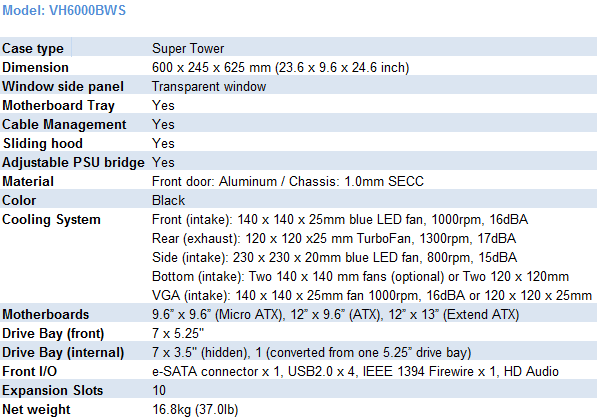
SPECS
PACKAGE & BUNDLE
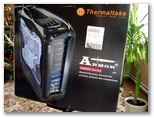
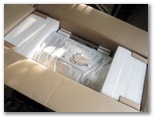
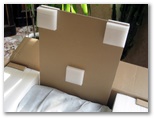
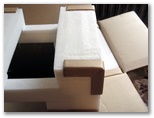
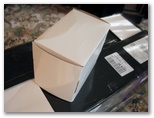
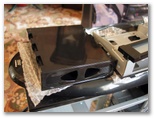
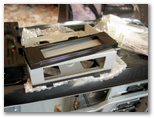
All Thermaltake products are packed so there is no way to receive a damaged item. Unless the courier throws it of a cliff or something, but that’s unlikely to happen. The pictures below do not portray the real size of the case. It’s simply enormous and heavy (~17kg). The silver model is all aluminum so if weight is your concern, get that one instead. When you open the box you see that the chassis had been secured from all sides. Additionally the corners of the packaging material had been reinforced.
Click a picture to see a larger view
The box shows the main case features and specifications. As always, Thermaltake includes an accessory box inside the case. The following were found within the white box:
- Accessory box (optional)
- 3.5″ to 5.25″ tray — mainly used for floppy and the like
- 14″ fan mount
- A bag of screws, fasteners, spacers, cable management ties
- Lock keys
- Cleaning cloth
- Manual
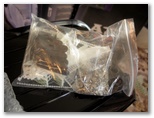
The amount of various “things” inside the plastic bag can give you a headache. I still don’t know what some of them are for. Interestingly enough, Armor+ does not come with plastic mylars for your motherboard. The bundle does not include additional fans though it’s optional. The same can be said about the PSU support hook — it’s not there, but to be frank it’s not necessary with this case as the PSU placement is horizontal.
EXTERNAL DESIGN
The original Thermaltake Armor went through a huge amount of improvements and additional features. Hence the “+” sign at the end of the model name. The sum of changes qualify really well this descriptive name alteration. As I already mentioned, the case is immense and soon will belong to Thermaltake’s super tower class.
Click a picture to see a larger view
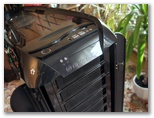
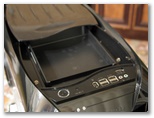
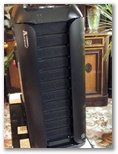
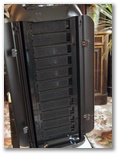
Armor+ has changed both externally and internally. The most obvious difference when looking at the improved model is the size, weight, top panel, side window and handle sticking out in the back. Thermaltake Armor+ measures 600 x 245 x 625 mm versus 530 x 220 x 560 mm for regular Armor. It also weighs roughly 1kg more than the previous model, but that’s ok considering the improvements. However, it’s not fine by me that the black models come only in steel. This new model has been fitted with a brand new top panel and nice paint finish — much likable and functional in my opinion. The flap doors haven’t changed a bit. The side panel however has been redesigned. First of all, the opening mechanism had changed significantly. The other notable addition is the huge 23 cm LED fan rotating at 800 RPM and blasting only 15 dBA — note that it’s an intake fan. I won’t delve into how everything works now, just go over it briefly. I will however describe in detail the installation procedure later on.
Click a picture to see a larger view
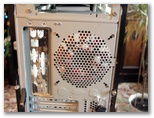
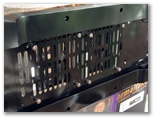
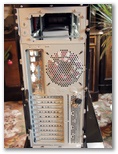
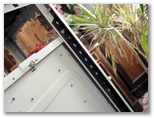
Going to the back of the chassis, the PSU opening has been oriented horizontally with plenty of space inside even for 1500W monster. As always, Thermaltake put a 120 mm fan in the back for better heat dissipation. Believe it or not, Armor+ comes with a removable motherboard tray hence the handle in the back. More on it on the next page. The sides are equipped with three thumb screws, the middle one is used to release the side from the lock and open the panel. The bottom structure of the case has changed too. In the middle you’ll find two racks to which you can attach additional 12 or 14 cm fans. The bottom feet are no longer plastic, they are rubber and grip really well. They are placed on plastic side skirts which allow for fan mounting. Did I mention the top panel comes with sliding hood and can serve as toolbox? Well I just found out myself. You’ll be surprised as to how many improvements this model carries. It’s unbelievable that I keep finding things I wasn’t able to locate earlier.
INTERNAL DESIGN
The internal structure is as impressive as the outer design. Although I did not strip the case to bare bones I believe going over all aspects and features of Thermaltake Armor+. It’s a shame Thermaltake does not make aluminum cases in black. I found a lot people bothered by this fact. It’s not only me, but others had noticed this as well. Usually if someone potentially likes this case and prefers black and lightweight design, they will go to the competition. I tried stressing this on Thermaltake, but with no avail. They said they haven’t actually thought of it, but since they have so many models it won’t hurt to add an extra one right? It’s a pity as this would make this case almost perfect.
Click a picture to see a larger view
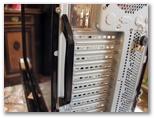
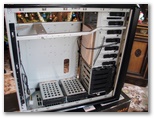
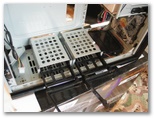
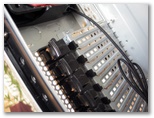
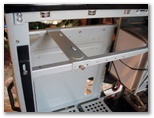
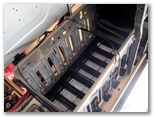
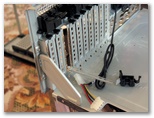
Needless to say, I’m stunned at the internal design. Thermaltake Armor+ is indeed evolutionary. On the bottom of the chassis, you will find two hard drive racks which could be removed and replaced with fans. The locking mechanism for expandable PCI cards has also changed. All clips can be removed in case you prefer plain screws — this is quite true when dealing with high-end and enthusiast graphic cards. Note, this case supports extended ATX allowing for up to 10 PCI cards. I still prefer screws, but when using lightweight card these locks would do just fine. The PSU support hook is gone, but instead we get an adjustable supporting bridge which acts in similar manner. The difference is, you are now able to use longer power supplies without worrying about the space inside.
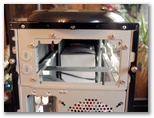
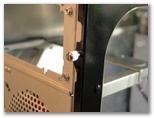
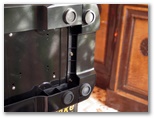
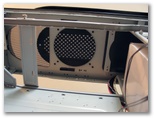
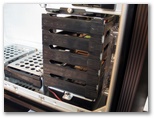
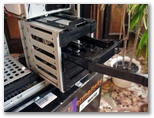
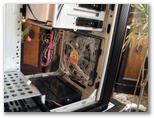
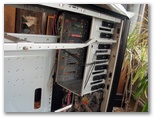
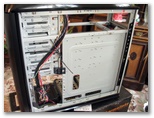
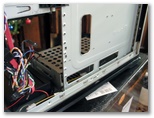
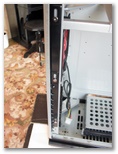
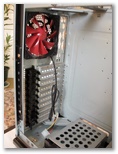
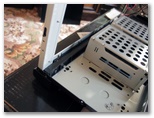
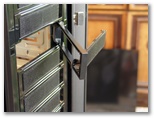
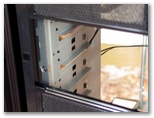
Looking at the top (from the inside) of the case you can mount an additional 12 cm fan. Next up is the hardware rack which can hold five 3.25″ devices. To the right of it, you’ll find a 14 cm intake fan. As for 5.25″ bays, you can stick as many as seven external devices, the locking mechanism is explained below. Under the right-hand side panel we have the removable motherboard tray with cable management system for better cable routing and internal air flow. The last two pictures show the side door locking mechanism.
Click a picture to see a larger view
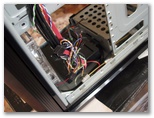
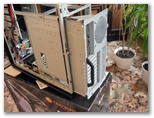
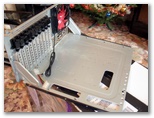
Both sides sport the new panel closing mechanism. Now to the most interesting part — removable motherboard tray. To have it out of the case, you need to take out the four little screws located on the backplate of the chassis. Once unscrewed just pull the black handle and slide the tray out. It’s a huge plus for bigger and heavier cases as you don’t have to deal with everything inside it. The front bay covers come with nifty tool free design allowing you to remove them with push and pull motion. The inside locking kit is tool free as well, but any device can be secured if necessary.
INSTALLATION
Putting together a system inside Armor+ was a pure blast. The procedure was nothing similar to previous Thermaltake cases. I’ll describe my thoughts briefly here. The first thing to do was remove both side panels by unscrewing upper and bottom thumbscrews. Pull the middle one and slide the doors out. Remember this case features a removable motherboard tray so you don’t have to work inside the case and be bothered by obstacles such as drive cages, 5.25″ bays or chassis frame. To slide the motherboard tray out you have to remove four little screws from the back of the case. It’s quite obvious which, but if you’re having problems finding them you can always look in the manual. Remove the tray by holding the handle and sliding it towards the back. I haven’t encountered any potential problems up to this point. The rest was pretty standard — put the motherboard in, secure it, slide the tray back in and proceed with installment of other devices. Note, Armor+ is capable of holding Extended ATX, ATX and Micro ATX motherboards.
To install the power supply you have to unscrew the thumb screws located on both sides of the PSU support bridge. Next up, place the PSU horizontally and fasten it from behind. After that, use the support bridge to adjust it to an appropriate position and secure it with thumb screws. Connecting front switches, LEDs, USB / Firewire / Audio connectors was a routine procedure. Each connector was labeled and properly joined to allow for easier and faster installation.
The tool-free mechanism works well with 5.25″ and PCI devices. Additionally you can secure them with screws. The hard drive cage however required screwing the clips to HD. Once they were inside the rack they could be removed by simply pressing the handle and pulling the tray out — really nifty.
TESTING
Benchmarks that were ran consisted of SP2004 tests and various video card synthetic tests to make sure appropriate temperature was reached. Intel Core 2 Duo platform was used and clocked at 3 GHz. More details right below.
|
Testing Platform
|
||||
| Processor | Intel Core 2 Duo E6600 | |||
| Motherboard | Gigabyte 965P-DS4 | |||
| Memory | GeIL PC2-6400 DDR2 Ultra 2GB kit | |||
| Video card(s) | PowerColor HD 3850 Xtreme | |||
| Hard drive(s) |
Seagate SATA II ST3250620AS |
|||
| CPU Cooling | Cooler Master Hyper 212 | |||
| Power supply | Thermaltake Toughpower 850W | |||
| Case | Thermaltake Armor+ | |||
| Operating System | Windows Vista 32-bit Business | |||
| Drivers | DirectX 9.0c CATALYST 7.10 |
|||
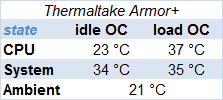
Although Armor+ is made out of steel it performed really well, mostly because of its size and design — heat escapes faster. Ambient temperature was around 21 C while testing. With an overclocked C2D and HD 3850 Xtreme scorching in the background the following results were achieved:
FINAL WORDS
Here at Bjorn3D nothing escapes unnoticed, especially products that lack functionality, design and taste. It works the other way around too — products that glare with quality and excellence are praised and admired. With Thermaltake Armor+ I haven’t had time to idle or get bored by it. The case is simply amazing as it carries an updated Armor design and evolutionary solutions. You no longer have to dig inside it to fasten your motherboard and other devices; the removable motherboard tray helps you avoid it. It can be taken out really fast and once it’s on your desk, putting everything together never got easier. The ten tool-free PCI slots are ready for any quad graphic configuration while the independent thermal management cools your CPU, VGA and HDD. As far as chassis goes, it’s been fitted with cable management system, adjustable PSU supporting bridge and tool-free 5.25” installation.
There are lots of bits and pieces that make Armor+ stand out from the rest of the cases (dual drawers, Liquid Cooling System compatibility for example). I’m pretty sure I mentioned all of them throughout the article. However, I haven’t found many negatives which kind of surprises me as it’s hard to make an ideal and bulletproof enclosure. One thing that might be hurting the sales is the MSRP which escalates around $250 green dollars.
The last thing I’d like to say is, there aren’t many refresh / kicker products around that receive such high scores as this Thermaltake case.
Pros:
+ Thought out inner / outer design
+ Removable motherboard tray
+ Lots of room inside
+ Cable management system
+ 23 cm side fan
+ Swappable HDD / fan modules
+ A lot of tool free solutions
+ Functionality
+ LCS ready
+ Good cooling
+ Not just a simple upgrade
+ It isn’t a simple “+”
Cons:
– Heavy
– Seems a bit expensive
For handful of upgrades, thoughtful design and quality finish, Thermaltake Armor+ gets the rating of 9.0 (Extremely Good) out of 10 and Bjorn3D Golden Bear Award
 Bjorn3D.com Bjorn3d.com – Satisfying Your Daily Tech Cravings Since 1996
